


A pressure tank sits outside of a pump and holds water under pressure. The water is pushed into the pipes when a faucet is on due to built-up pressure inside the tank. Regular cleaning and maintenance of a pressure tank are necessary to maintain precision dispensing, similar to other mechanical devices.
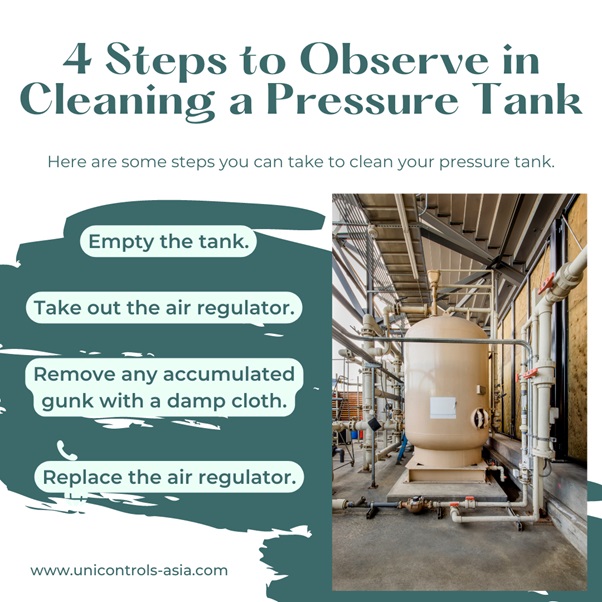
Here are some steps you can take to clean your pressure tank.
1. Empty the tank.
Use a garden hose to connect to the tank’s drain at the bottom. In most cases, it’s on the tank’s bottom edge. The hose is then attached to the drain, and by screwing it into the faucet-like outlet on the bottom of the drain it can rid the tank of water. A bucket or doorway can be used as a vessel to catch the water as you open the valve. The pressure tank should begin to empty almost immediately.
2. Take out the air regulator.
The air regulator at the top of your pressure tank tells you how much pressure you have in your tank. A set of pliers with an adjustable jaw can be used to remove this. Remove it carefully so as not to harm it.
3. Remove any accumulated gunk with a damp cloth.
Calcium will accumulate in the internal workings of anything that contains water. Make sure to use rags to clean out a pressurised tank thoroughly inside. Using a piece of steel wool may help you remove stubborn buildups. Remove the calcium deposits from the pressure tank and pipes by scrubbing.
4. Replace the air regulator.
The regulator should be tested with an air pressure tester if it appears to be malfunctioning. The old one is replaceable if needed. Screw into the housing after applying the plumber’s Teflon tape to the threads. Using the pliers, secure them in place.
To buy liquid dispensers for your home, be sure to contact Unicontrols today for more inquiries!
